INSTALLATION
FREE DELIVERY AND FREE STANDARD INSTALLATION NOW AVAILABLE IN THE WELLINGTON REGION
CLICK HERE FOR DETAILS

SYSTEM INSTALLATION
Installation of the Phonak Roger Sound Field System involves mounting the tower speaker (Digimaster 5000v2, Digimaster 7000v2) on either the tripod (Digimaster 5000v2 only), the floor stand, the desk stand, or to the wall mount bracket. The wall bracket is the preferred option for education use. A standard power pack then connects the speaker to an existing wall socket. If a new wall socket is required it must be installed by a certified eletrician. The location of the speaker in the room is important, please see below for guidance.
LOCATING THE SPEAKER IN A ROOM:
It is important to locate the speaker in a low traffic area of the classroom, and to set it at the correct height. When using the tripod, the vertical centre of the speaker should be set at 1400mm above the floor. When the tripod is used in an ECE setting, the tripod is set at it's lowest possible height. When using the wall mount bracket, the lowest part of the bracket is set at 1400mm from the floor. The floor stand and desk stand are not height adjustable.
The Digimaster 5000v2 speaker is suitable for rooms up to 100m2, which covers most NZ classrooms.
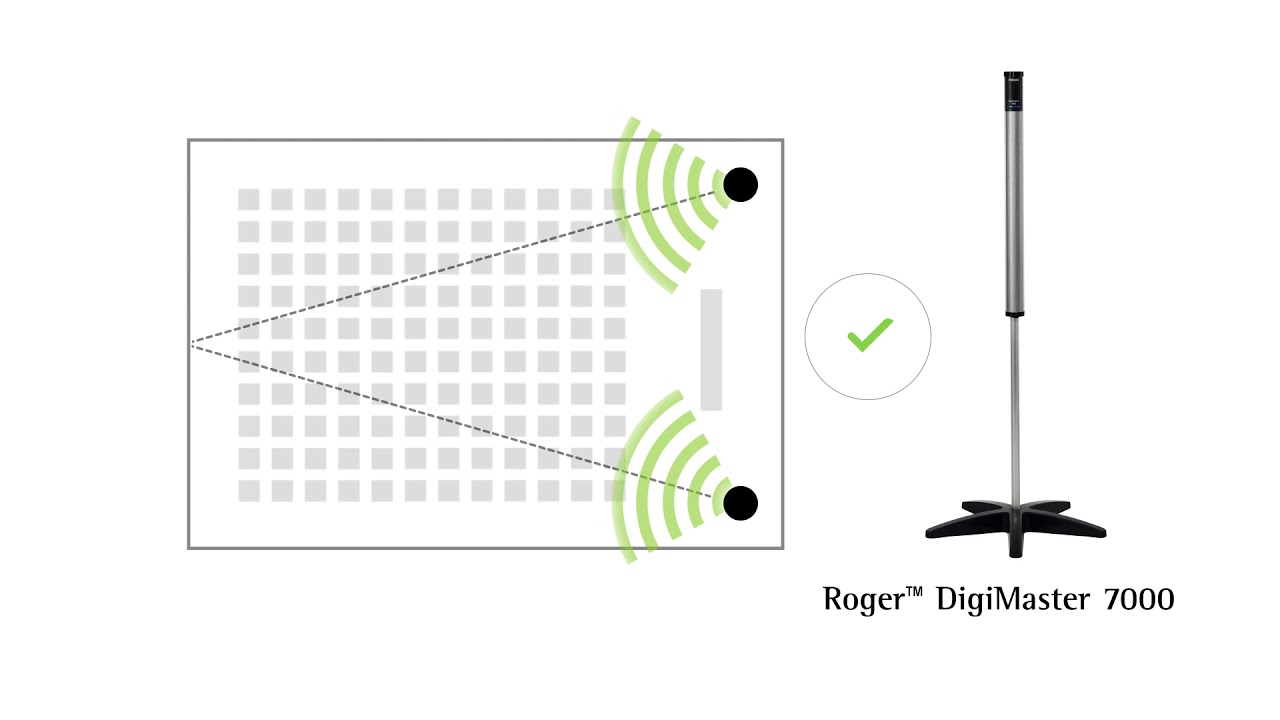
The Digimaster 7000v2 speaker is suitable for rooms up to 150m2.
The Digimaster 7000v2 speaker when used in a pair, is suitable for rooms up to 300m2.
For larger spaces, up to 20 Digimaster 7000v2 speakers may be used at once.
Please see video below for optimal positioning:
MOUNTING ON WALL BRACKET:
The wall mount bracket is for both the Digimaster 5000v2 and 7000v2. The wall mount bracket kit includes screws and Rawl plugs. The Rawl plugs may be used in cavity walls such as plasterboard (Gib), and solid walls such as brick or concrete block.
- Decide on speaker location using the guide above.
- Ensure there is enough clearance above the bracket for the full height of the speaker. Be aware of overhead shelving etc.
- Ensure there are no electrical sockets or other electrical items, or water/gas fittings above or below, and to either side of the wall bracket location.
- Ensure there are no electrical/data wires or pipework in the wall where holes will be drilled for mounting.
- Measure 1400mm from the floor and mark a horizontal line with a pencil.
- Position wall bracket with bottom of bracket on mark.
- Use a pencil to mark the location of one of the top holes.
- Remove bracket and drill a 5mm diameter hole.
- Use a hammer to tap in a rawl plug untill the collar is flush with the wall.
- Place bracket back on wall, insert one screw, and tighten with supplied Torx T20 wrench (star shaped allen key) untill firm but bracket can still just move.
- Use a spirit level to ensure bracket is vertical and mark remaining holes. Accuracy here is important.
- Swing bracket out of the way and drill remaining holes.
- Rub out pencil mark!!
- Tap in remaining rawl plugs, and re-position bracket.
- Insert remaining screws and tighten fully. Do not over tighten.
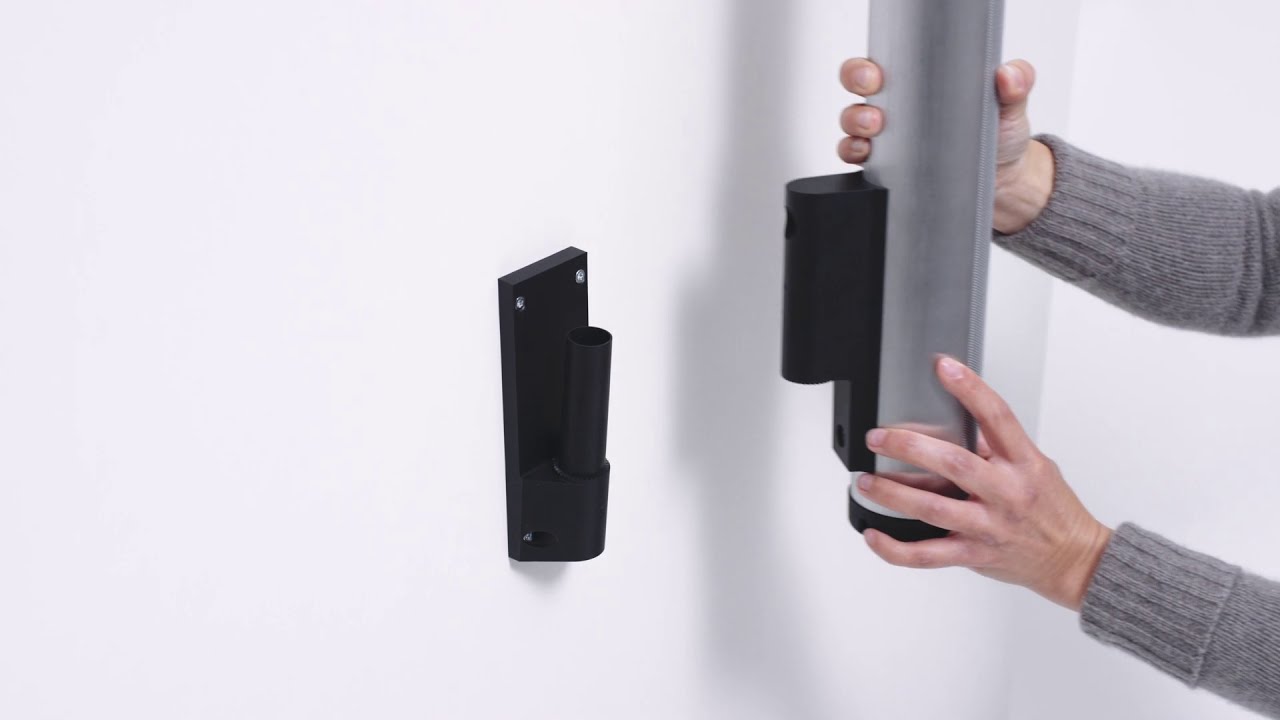
- Fix other part of wall mount to the speaker as per video below.
- Place speaker on the wall bracket.
- Point speaker towards the centre of the room, opposite corner, or towards the centre of the back wall (refer to locating guide above).
- Plug standard power pack into the jack at the bottom of the speaker and loop it over tab on the underside of the wall mount.
Please see video below for details:
MOUNTING ON TRIPOD:
NB: The tripod is NOT for use with the Digimaster 7000v2.
For ECE applications, use the tripod at it's lowest setting.
For classroom applications, set the tripod up before attaching the speaker:
- Unscrew the centre pole locking knob, then use the handle to wind the centre pole up to it's full height. Re-tighten the locking knob.
- Undo the top leg clips and extend each leg so there is 110mm of leg visible between the upper and lower clips. Close each clip.
- Unscrew the black spike covers at the very end of each leg untill they have covered the spike and will not unscrew any further. Tripod spikes are for use in situations such as sand or loose dirt.
- Loosen the lowest knob on the centre section between the tripod legs. This will slide down as the tripod legs are opened. Once legs are opened, re-tighten knob to lock legs.
- With tripod on the floor in it's final location and looking at the round bubble level, micro adjust legs as neccessary such that the bubble sits in the centre of the circle.
- The Digimaster 5000 may now be attached to the tripod as per the video below:

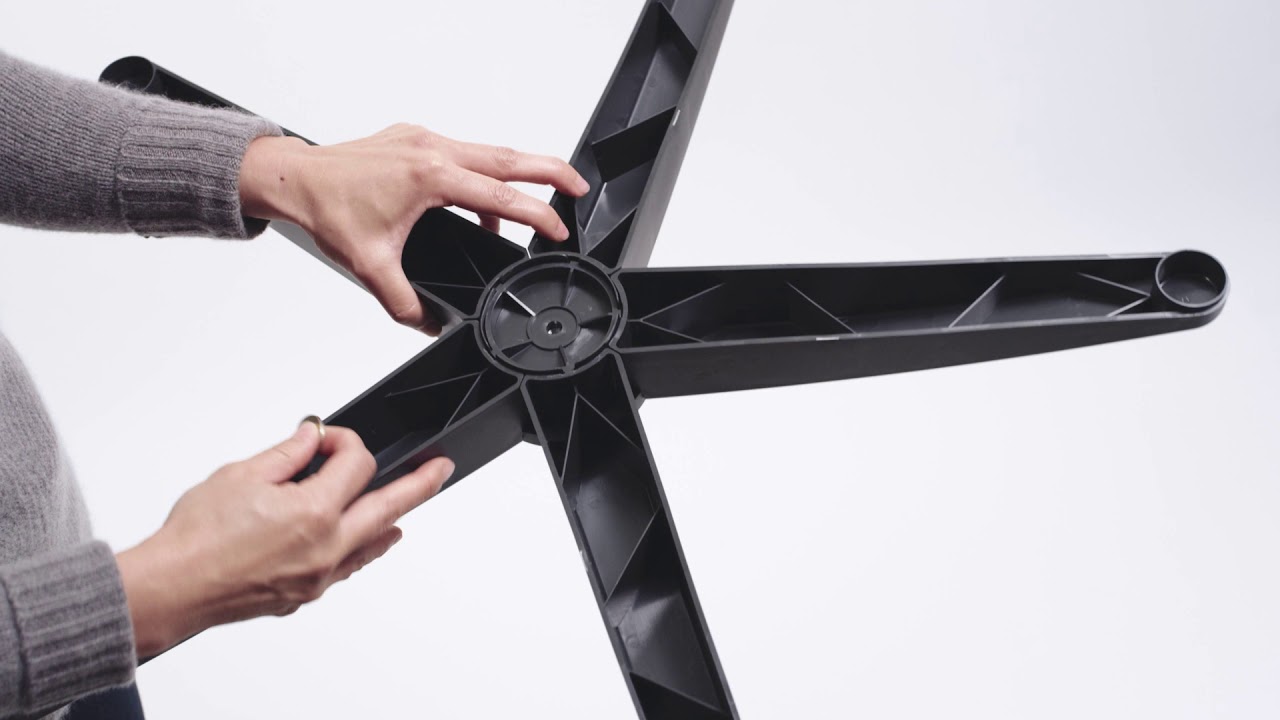
MOUNTING ON FLOOR STAND:
The floor stand is for both the Digimaster 5000v2 and 7000v2.
Please see video below for details:
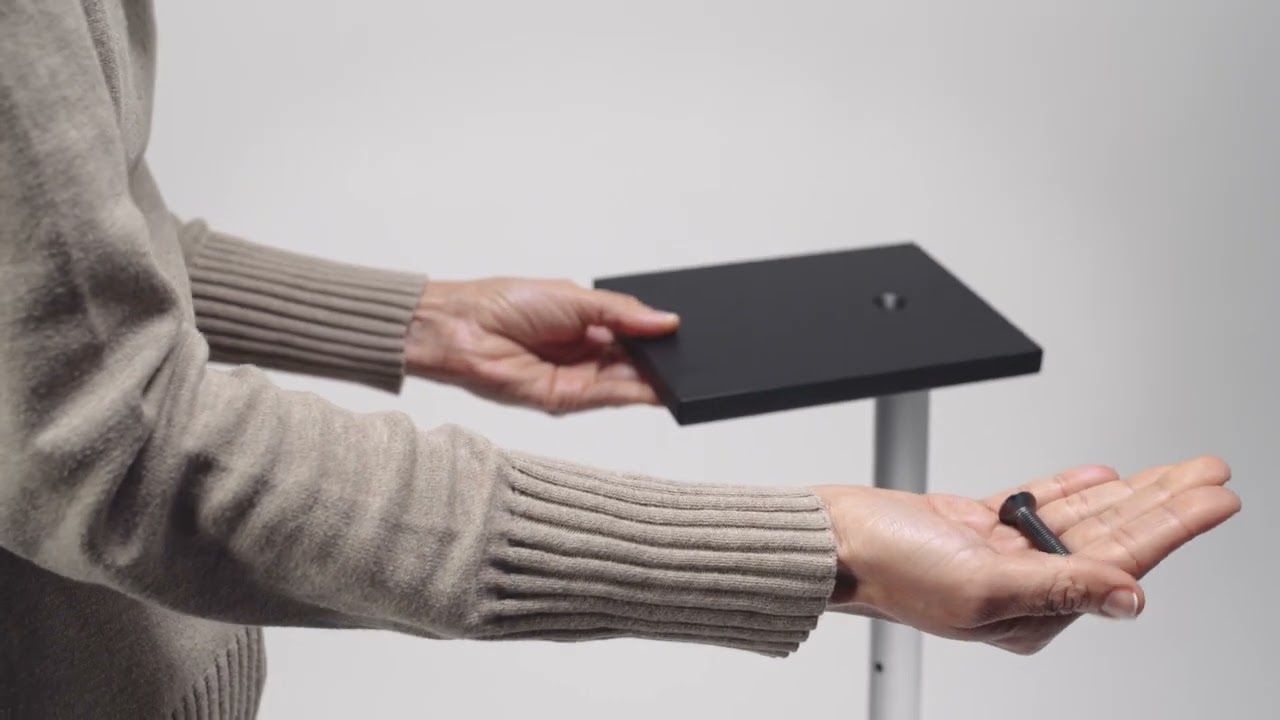
MOUNTING ON DESK STAND:
The desk stand is for both the Digimaster 5000v2 and 7000v2.
Please see video below for details: